
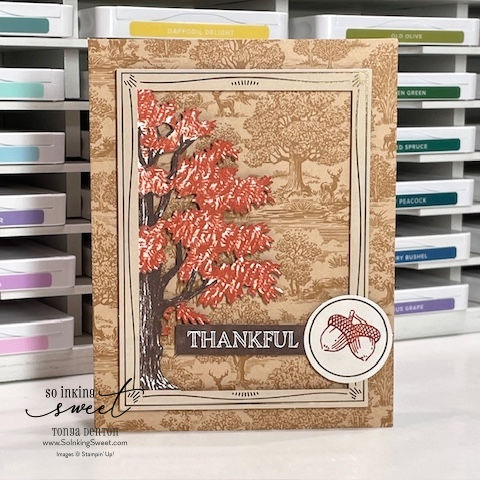
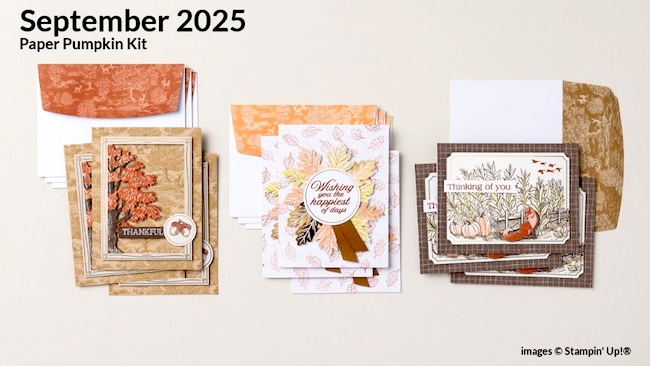
There is just something about fall along with the warm but colorful colors and patterns that compliment it. That’s how I feel about the September 2025 Fall for Toile Paper Pumpkin kit. I love the patterns and colors used to make these beautiful Autumn greeting cards! The toile pattern in the card base (above) is perfect!
Card One
The first card from the kit that I completed is the one with the tree placed off to the side of the card, within a frame. It’s popped up with Stampin’ Dimensionals (included in the kit). The sentiment label is printed so the only thing stamped are the acorns on the round die-cut. Both of these are popped up as well. DONE! So simple and simply beautiful!
Fall For Toile Kit Refill
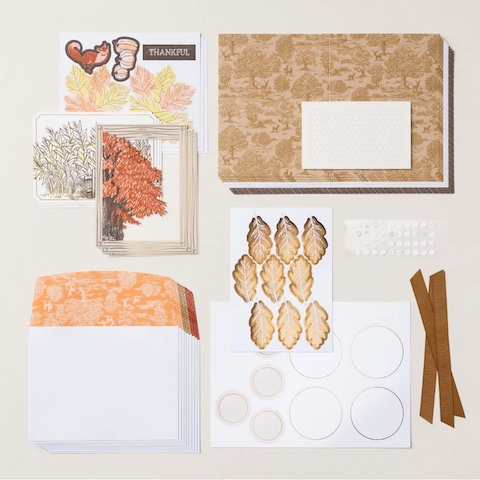
By the way, refills are available for this kit but ONLY for current Paper Pumpkin Subscribers. So sign up today and you’ll be able to order refills, past kits, and add-ons! For more details about this monthly subscription, visit the link over on the right side or click HERE. Paper Pumpkin kits has everything you need to start creating, including a stamp set and ink spot.
Although the refills don’t come with the ink spot or stamp set, you can still create beautiful cards using other stamps from your crafting stash. For more details on the Fall For Toile Refill, click HERE! You can purchase the Cajun Craze Classic Ink Pad or purchase a set of Uninked Stampin’ Spots and the Cajun Craze ink refill to create your own ink spot.
Card Two
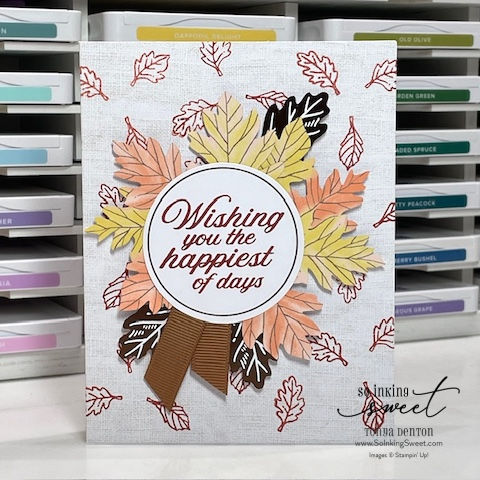
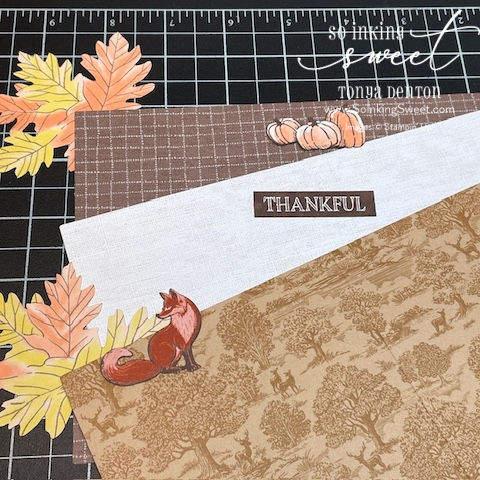
The card base for this card has a linen pattern. Using the leaves from the stamp set (see below), I stamped the front of the card base. My leaves and label are slightly situated to the left and I changed the direction of the ribbon (also included). The sentiment stamp is versatile so it can be used in a variety of ways depending on what you need it for. All the leaves are popped up with dimensionals and the sentiment label and ribbon is attached using glue dots (included in the kit).
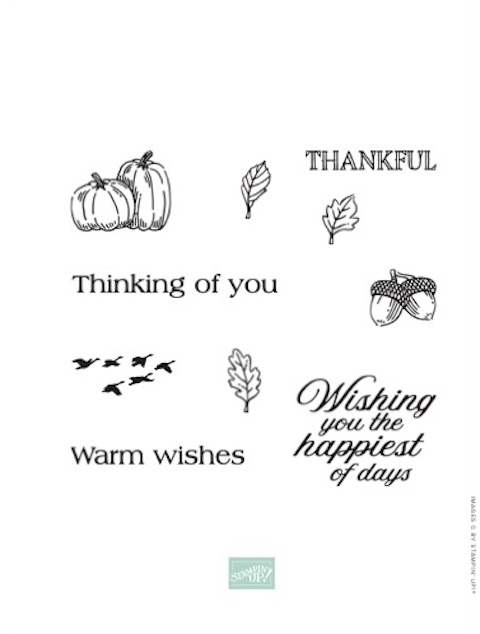
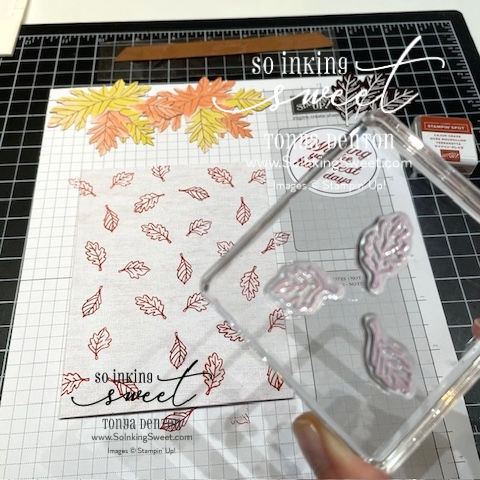
The kit instructions uses only two of the leaves from the stamp set (included in the kit), but I used all three to stamp the front of the card base. This makes for a nice pattern and goes quicker.
TIP: When stamping a lot of images, be sure to clean your stamp(s) after a couple of times.
Card Three
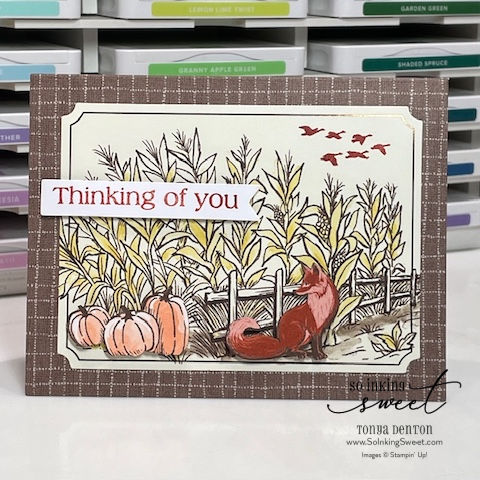
There’s something about this card that I love! Maybe it’s because I’m a transplanted Texan in Illinois and live in an area where farmers plant corn. A lot of corn! Plus I see a fox every now and then on our place. And the geese! I’m used to seeing a lot of them as well. Back to the card, it’s just earthy and full of fall!
I’ve stamped both the geese in the upper corner and stamped the sentiment label in Cajun Craze. The instructions have the corn die-cut panel popped up but mine is glued down. I did pop up the sentiment label, the pumpkins, and the fox die-cuts.
More Pictures
Stampin’ Up!’s Paper Pumpkin Kits have really come a long way over the years! Each kit comes with everything needed to complete the projects. I love having everything designed for me. I can make the projects as intended or switch things up and make my own design. One day I’d love to make a scrapbook layout using a Paper Pumpkin kit!
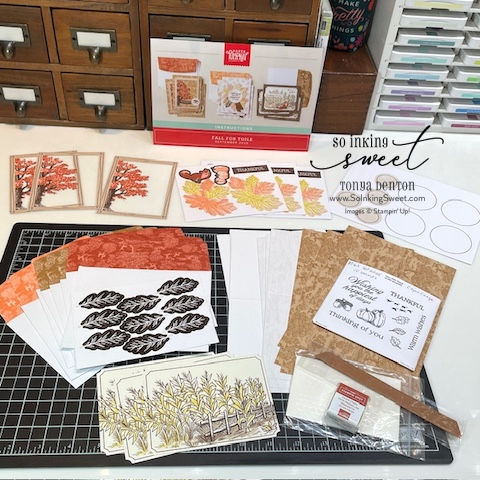
FYI: One set of the card bases is turned facing the wrong way in the picture. Can you guess which one?
Here’s a close up of the card bases on some of the die-cuts. Notice the deer in the toile pattern! I literally just noticed them! LOL! I need my eye surgeries! The middle card base is a pretty linen pattern and the last one is a brown plaid pattern. I think I’ll cut a couple of the card bases apart for some alternate cards, to be done later.
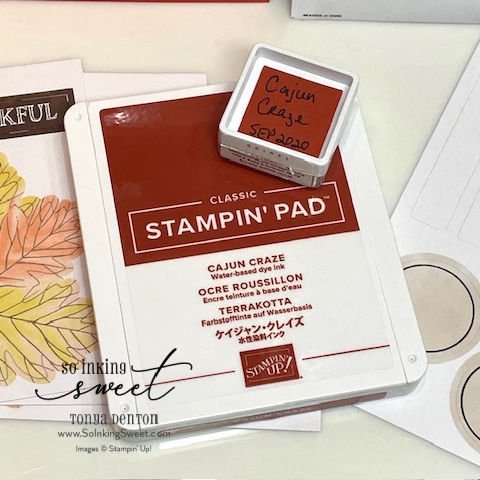
This is just to show Stampin’ Up!’s classic ink pad size compared to the ink spot that comes in the Paper Pumpkin kit. Since I have all of Stampin’ Up!’s beautiful card stock, I punch a 1″ square and write the name of the color, the month, and the year on it; then I attach it with a 3/8″ glue dot (not Stampin’ Up!). This way I can quickly see not only the color, but also the name and which kit it came from. This is a great way to organize them for quick reference. NOTICE that this ink spot is from September 2020 AND it’s still juicy with ink!
TIP: You want to store ink spots upside down to keep the ink towards the top of the foam.
Paper Pumpkin Video
With every monthly kit, you can watch a YouTube video to see how the kit is constructed and put together. Plus each kit comes with an instructional brochure to help with each project. Note: If you don’t see the YouTube video in your email, visit my blog!
Want to Subscribe to Paper Pumpkin?
Just click HERE and start your subscription TODAY! Here’s a sneak peek at the next three kits coming up for the fourth quarter. Notice that with each quarter, there is an add-on that you can purchase (separately) that coordinates with each of these three Paper Pumpkin kits. This die set is called Abundant Joy Dies and coordinates with the stamp sets to help further our crafting experience once the kits are completed. Remember that you can skip a kit when you need to for any reason.

Happy Crafting and Have a Blessed Day!

Don’t Forget . . .
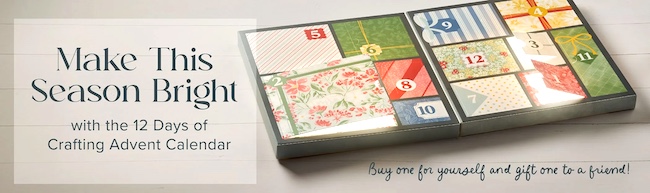
Stampin’ Up! is introducing the 12 Days of Crafting Advent Calendar, a brand-new calendar full of products that we can craft with ALL YEAR LONG! Not just during the holidays, but all year long! WooHoo! Who doesn’t love purchasing products that can be used beyond a particular season when bought? I absolutely love that feature about this advent calendar! Supplies limited so don’t wait to get yours! Click HERE for more information!

Stampin’ Up! is offering NOT ONE but TWO options if you JOIN during this month of October! Either option you choose, you will be getting $90.00 of products FREE! Plus YOU CHOOSE what you want in your starter kit! Have you had a big ticket item on your WISH LIST? Now is the time to take advantage of this offer no matter what has been on your wish list! For more information, click HERE or click HERE to join my team!

